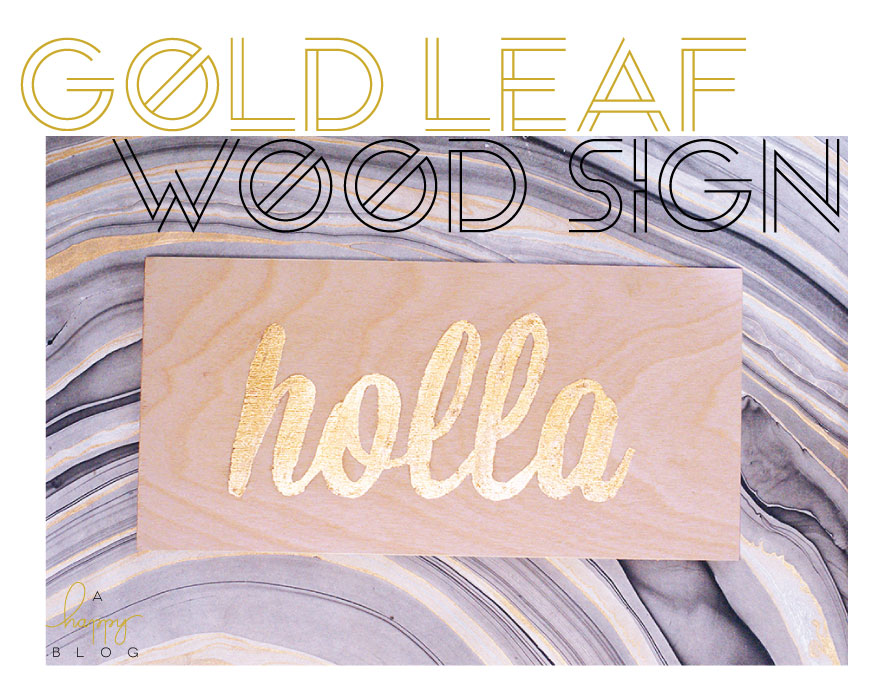
 The resurgence of gold foil is not lost on me. Everywhere you look you see this 70s and 80s staple back in full swing. This project combines luxe gold foil with typography. Choose the subject of your choice, be it a catchy phrase or simple object, and soon you too can bring a little bling into your space.
Most of these supplies can be picked up at your local craft or art store. For the art, if you’re not attacking this free hand, just print out a picture or phrase for your “stencil”. You can make your own transfer, by using a pencil to color the backside of the stencil completely. Then when you trace over the front, wherever you trace will transfer to your wood.
Now unless you’re headed to the club right after this, I recommend you cover your work area well because gold leaf is light and will get everywhere!

If you get some blank spots, just reapply gold leaf adhesive to these areas and add some leaf over it to fill in. It’s pretty forgiving. Also, if you are using a finished piece of wood you can skip step #2. This just seals the wood so that it doesn’t absorb the gold leaf adhesive.
Now “holla” cause you got some dope art!


